
정적 사이트 생성기로 만든 블로그는 markdown형식의 파일로 글을 관리하고 매번 빌드해서 배포 해주어야 하죠. 이를 쉽게 하기위해 Netlify CMS 와 Netlify 를 넣어보았습니다.
Netlify CMS
Netlify CMS, Forestry.io와 같이 정적 사이트의 cms는 여러 가지가 있죠.
어떤 서비스라도 관리를 쉽게 해주지만, Netlify 랑 같이 쓰면 좋을 거 같은 Netlify CMS를 적용해 보았습니다.
특징
웹 베이스, 많은 정적 사이트 생성기와 같이 사용할 수 있는 등의 좋은 특징이 많습니다.
가장 큰 특징이라하면 Git을 베이스로 관리한 다는 점이라고 생각되네요. 글 작성하면 commit이 되고, 작성 완료하면 pull request가 되고, 완료한 글을 다시 수정하려면 새로 commit이 되는 것인데, 개발하고 똑같네요. 글 작성 완료하기 전까지 branch를 따로 만들어서 관리할 수도 있습니다.
설치
템플릿에서 시작하기
netlify cms - Start with a Template
가장 빠르게 시작할 수 있는 방법입니다. hugo와 같은 정적 사이트 생성기로 사이트를 만들어 둘 필요도 없고, 모든 설정이 완료 되어 있는 템플릿에서 블로그 사이트를 시작하는 것이지요.
새로 시작하려는 분이나 일단 뭔지 보고 싶다 하시는 분에게 추천드립니다.
기존 사이트에 추가하기
netlify cms - Add to Your Site
이미 운영하고 있는 블로그 사이트가 있거나, 처음부터 설정해 나가고 싶으시면 직접 설치 할 수 있습니다.
다운로드나 설정도 간단하니 쉽게 할 수 있습니다.
파일 생성
관리 페이지 파일과 설정 파일을 만들어 주어야 합니다. 파일의 위치는 다음과 같습니다.
These generators … store static files in Jekyll, GitBook / (project root) Hugo, Gatsby, Nuxt, Gridsome, Zola, Sapper /static Next /public Hexo, Middleman, Jigsaw /source Spike /views Wyam /input Pelican /content VuePress /.vuepress/public Elmstatic /_site 11ty /_site preact-cli /src/static https://www.netlifycms.org/docs/add-to-your-site/#app-file-structure
정적 사이트 생성기 별로 빌드할 때, 웹 페이지가 그대로 배포되는 위치입니다. hugo로 만든 블로그 사이트에 배포 할 것이니 static 폴더 에 만들어 주면 되겠네요.
해당 폴더에 admin이라는 폴더를 만들고 다음 파일 2개를 만들어 줍시다.
index.html
<!doctype html>
<html>
<head>
  <meta charset="utf-8" />
  <meta name="viewport" content="width=device-width, initial-scale=1.0" />
  <title>Content Manager</title>
</head>
<body>
  <!-- Include the script that builds the page and powers Netlify CMS -->
  <script src="https://unpkg.com/netlify-cms@^2.0.0/dist/netlify-cms.js"></script>
  <script src="https://identity.netlify.com/v1/netlify-identity-widget.js"></script>
  <script>
  if (window.netlifyIdentity) {
    window.netlifyIdentity.on("init", user => {
      if (!user) {
        window.netlifyIdentity.on("login", () => {
          document.location.href = "/admin/";
        });
      }
    });
  }
</script>
</body>
</html>
config.yml
backend:
  name: git-gateway
  branch: master # Branch to update (optional; defaults to master)

# This line should *not* be indented
publish_mode: editorial_workflow

# These lines should *not* be indented
media_folder: "/static/img/uploads" # Media files will be stored in the repo under static/images/uploads
public_folder: "/img/uploads" # The src attribute for uploaded media will begin with /images/uploads

collections:
  - name: "blog" # Used in routes, e.g., /admin/collections/blog
    label: "Blog" # Used in the UI
    folder: "_posts/blog" # The path to the folder where the documents are stored
    create: true # Allow users to create new documents in this collection
    slug: "{{year}}-{{month}}-{{day}}-{{slug}}" # Filename template, e.g., YYYY-MM-DD-title.md
    fields: # The fields for each document, usually in front matter
      - {label: "Layout", name: "layout", widget: "hidden", default: "blog"}
      - {label: "Title", name: "title", widget: "string"}
      - {label: "Publish Date", name: "date", widget: "datetime"}
      - {label: "Featured Image", name: "thumbnail", widget: "image"}
      - {label: "Rating (scale of 1-5)", name: "rating", widget: "number"}
      - {label: "Body", name: "body", widget: "markdown"}
https://www.netlifycms.org/docs/add-to-your-site/#configuration
index.html은 Netlfiy CMS에 접속하기 한 페이지이고, config.yml은 설정 파일입니다.
이 이외도 여러 설정이 있으니, 공식 홈페이지에서 찾아볼 수 있습니다.
확인
netlfiy cms 페이지를 확인해 봅시다.
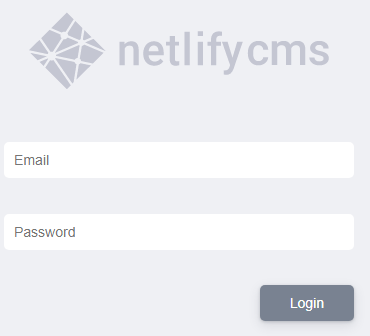
hugo -serve 로 구동 후, http://localhost:1313/admin 에 접속하면 로그인 화면이 나올 것 입니다.
Netlify 설정 파일 생성
이후부터는 Netlify에 배포하고 사용하게 됩니다. 그러기 위해서 블로그 사이트 경로에 netlify.toml 파일을 작성해줍니다. 해당 파일은 Netlify 설정파일로써, 빌드 명령어나 환경 변수 등을 지정할 수 있습니다.
#/my-blog/netlify.toml

[build]
publish = "public"
command = "hugo --gc --minify"

[context.production.environment]
HUGO_VERSION = "0.74.3"
HUGO_ENV = "production"
HUGO_ENABLEGITINFO = "true"

[context.split1]
command = "hugo --gc --minify --enableGitInfo"

[context.split1.environment]
HUGO_VERSION = "0.74.3"
HUGO_ENV = "production"

[context.deploy-preview]
command = "hugo --gc --minify --buildFuture -b $DEPLOY_PRIME_URL"

[context.deploy-preview.environment]
HUGO_VERSION = "0.74.3"

[context.branch-deploy]
command = "hugo --gc --minify -b $DEPLOY_PRIME_URL"

[context.branch-deploy.environment]
HUGO_VERSION = "0.74.3"

[context.next.environment]
HUGO_ENABLEGITINFO = "true"
Repository 생성
Netlify에 배포하기 위해 GitHub, GitLab, Bitbucket 중 하나에 지금까지 작성한 블로그 사이트 Repository를 만들어서 Push해줍니다.
Netlify
Netlify 배포
로그인
Netlify에 접속해서 로그인을 합니다.
이후, New site from Git 으로 사이트를 생성합니다. 처음 계정을 생성하신 분이라면, 바로 사이트 생성화면이 나올 수도 있습니다.
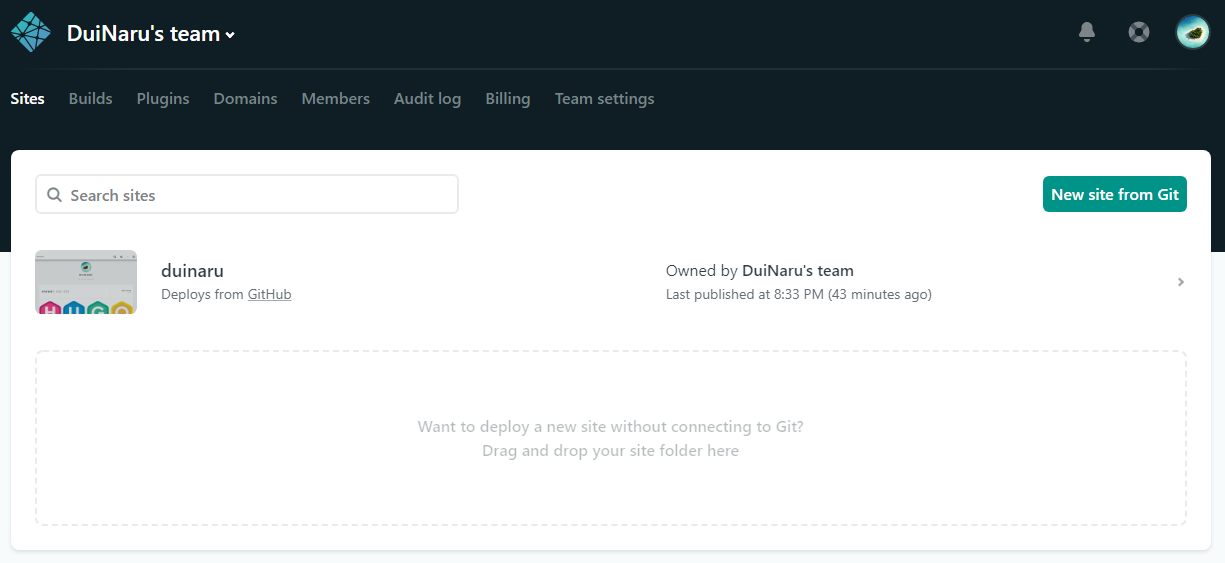
사이트 생성
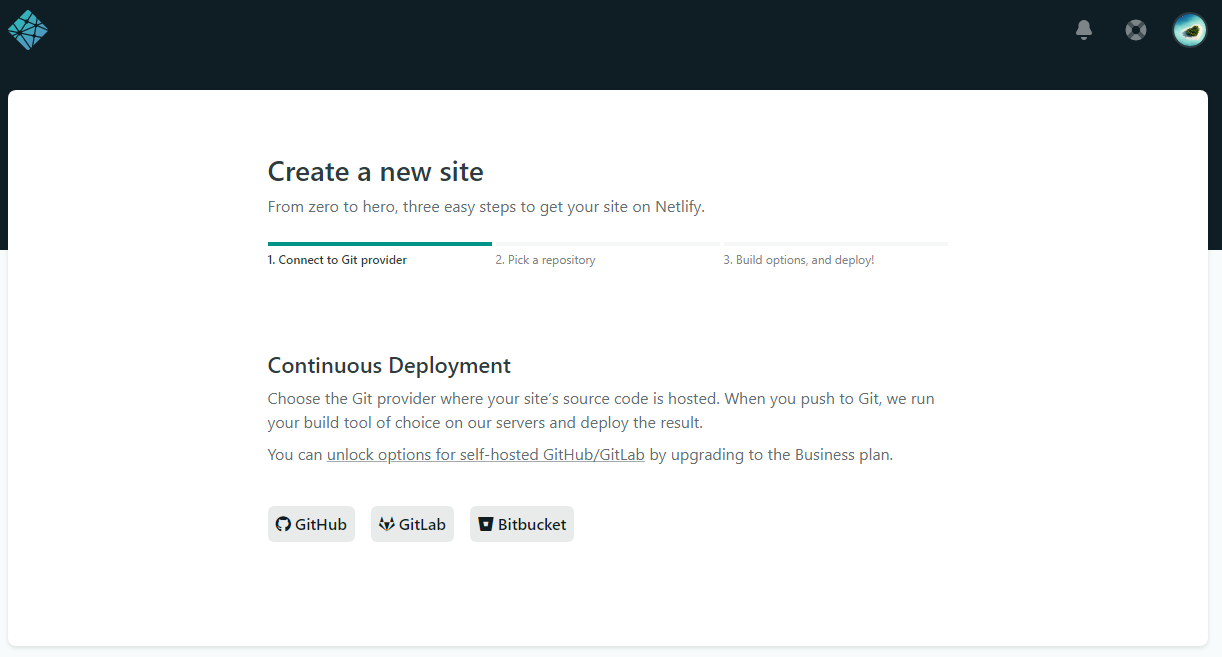
Repository를 만든 Git을 연결해줍니다.
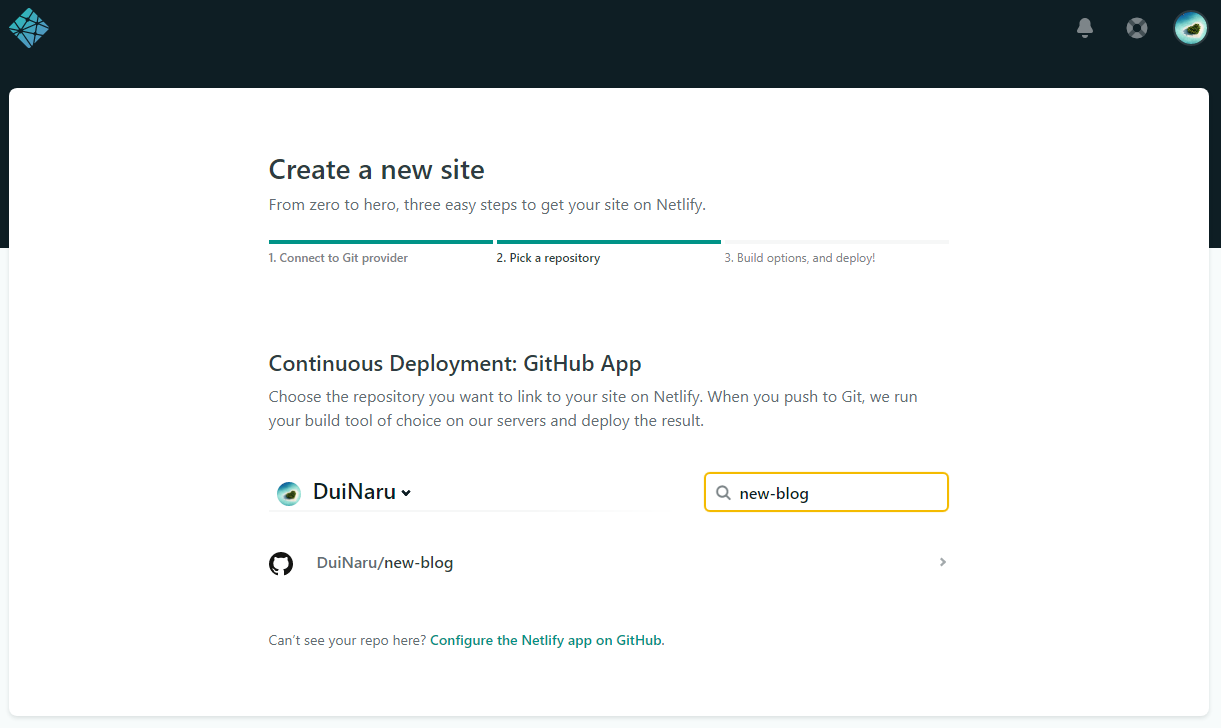
그러고 나면 Repository를 선택하는 화면이 나올텐데, 블로그 사이트 Repository를 선택해 줍니다.
이제, Branch와 빌드 명령어를 설정해주면 끝납니다.
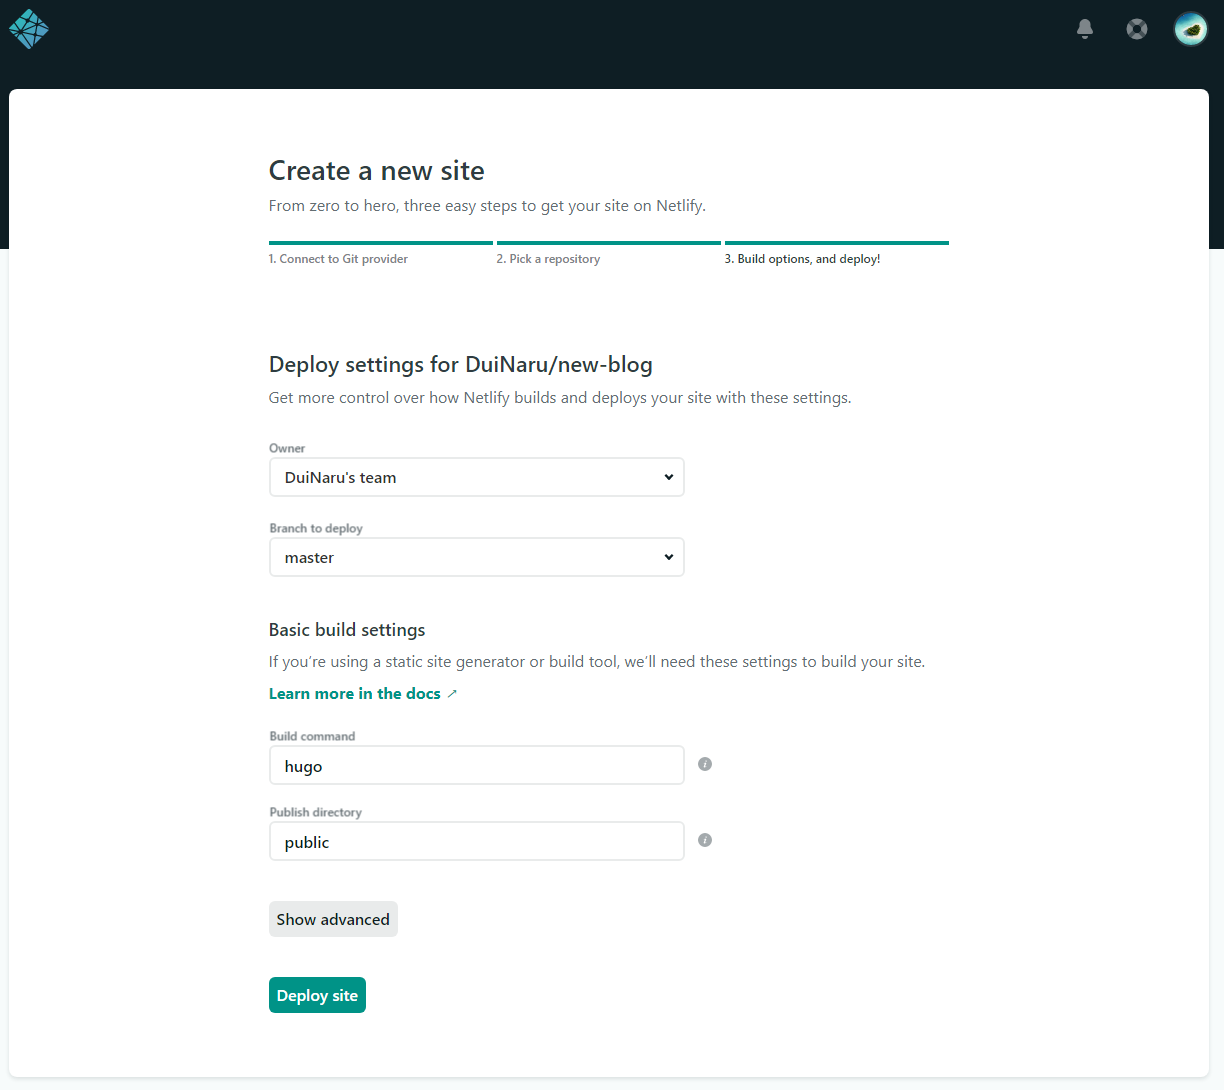
Deploy site버튼을 눌러서 Site를 생성해줍니다.
Hugo Future Imperfect Slim를 clone으로 넣었더니, 화면처럼 Failed로 실패라고 나왔습니다. submodule로 넣은 경우에는 나오지 않을 것입니다.
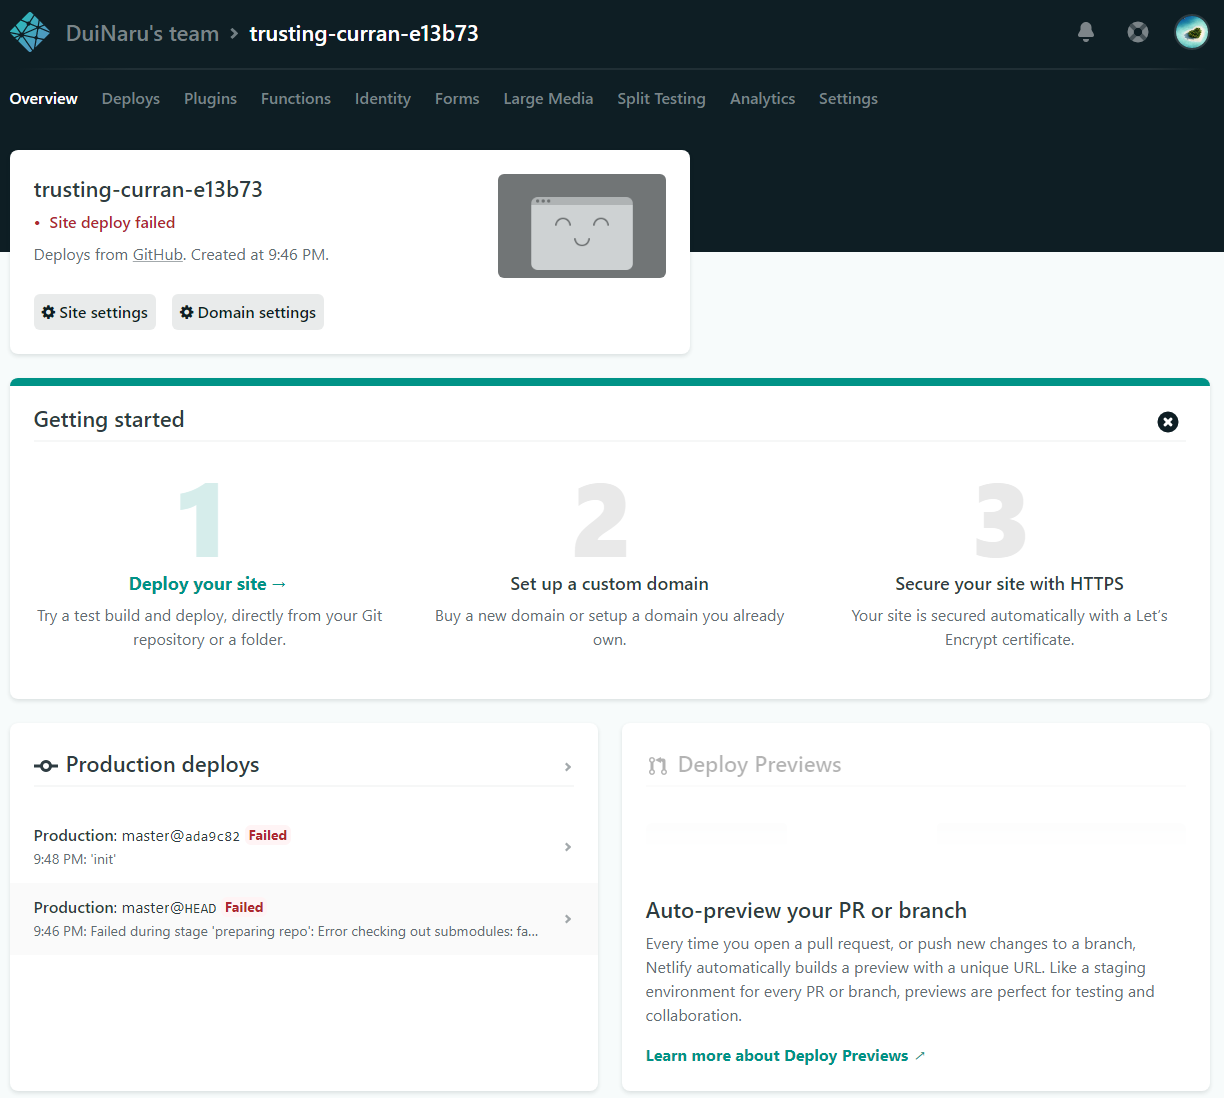
Submodule Path가 없다는 에러여서 .gitmodules 파일을 블로그 사이트 경로에 만들고, Push해주었습니다.
.gitmodules
[submodule "hugo-future-imperfect-slim"]
	path = themes/hugo-future-imperfect-slim
	url = https://github.com/pacollins/hugo-future-imperfect-slim.git
생성 확인
성공하면 다음처럼 Published를 확인 할 수 있습니다.
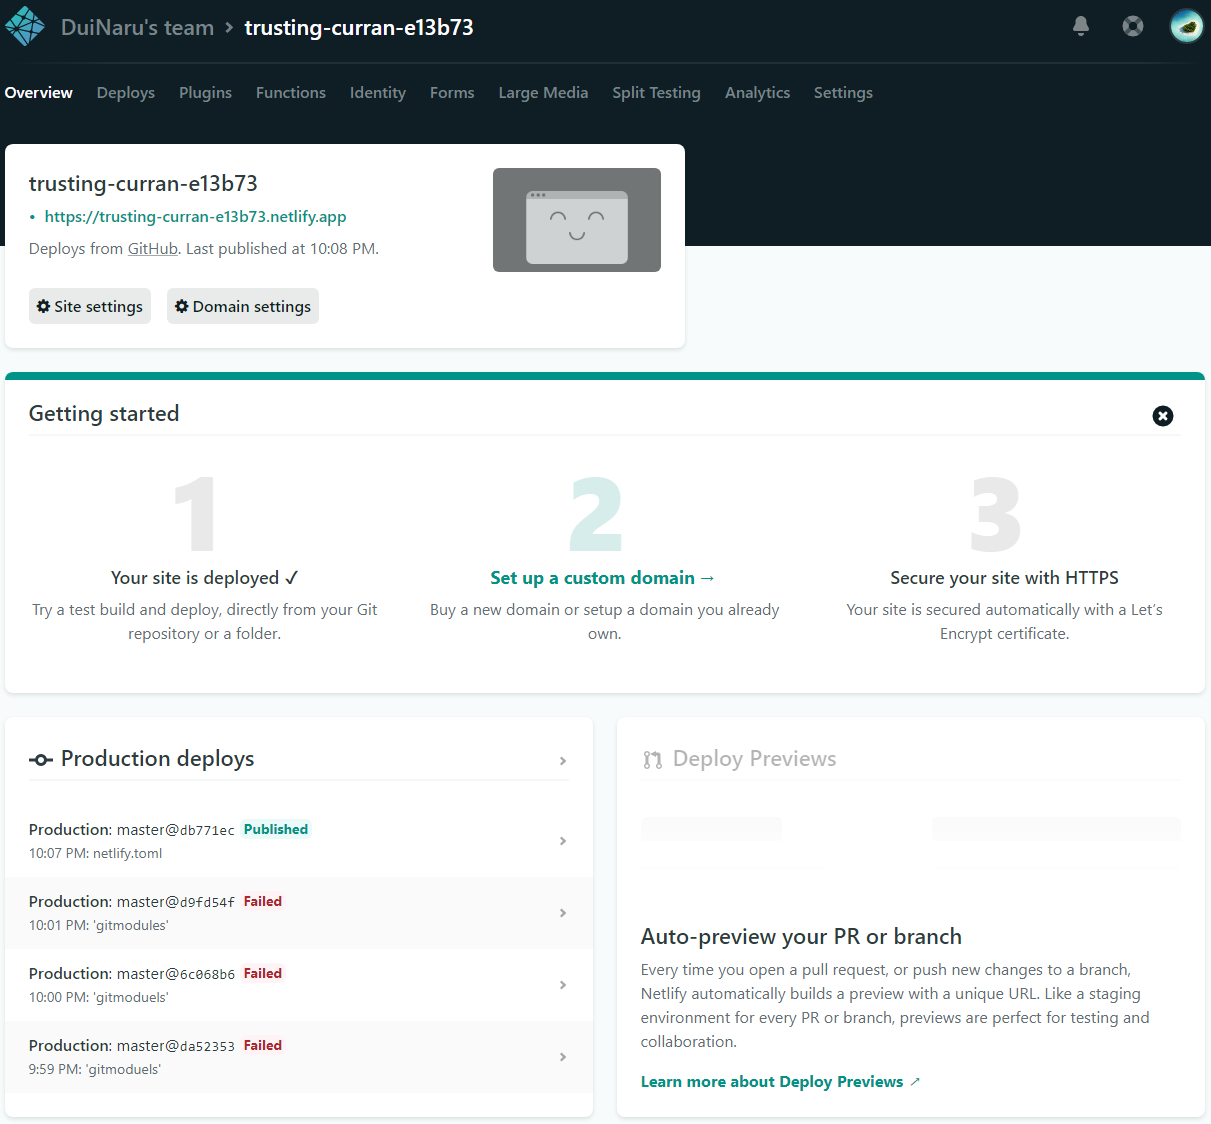
사이트 확인
화면에 표시된 URL에 접속하면 블로그 사이트를 확인 할 수 있습니다.
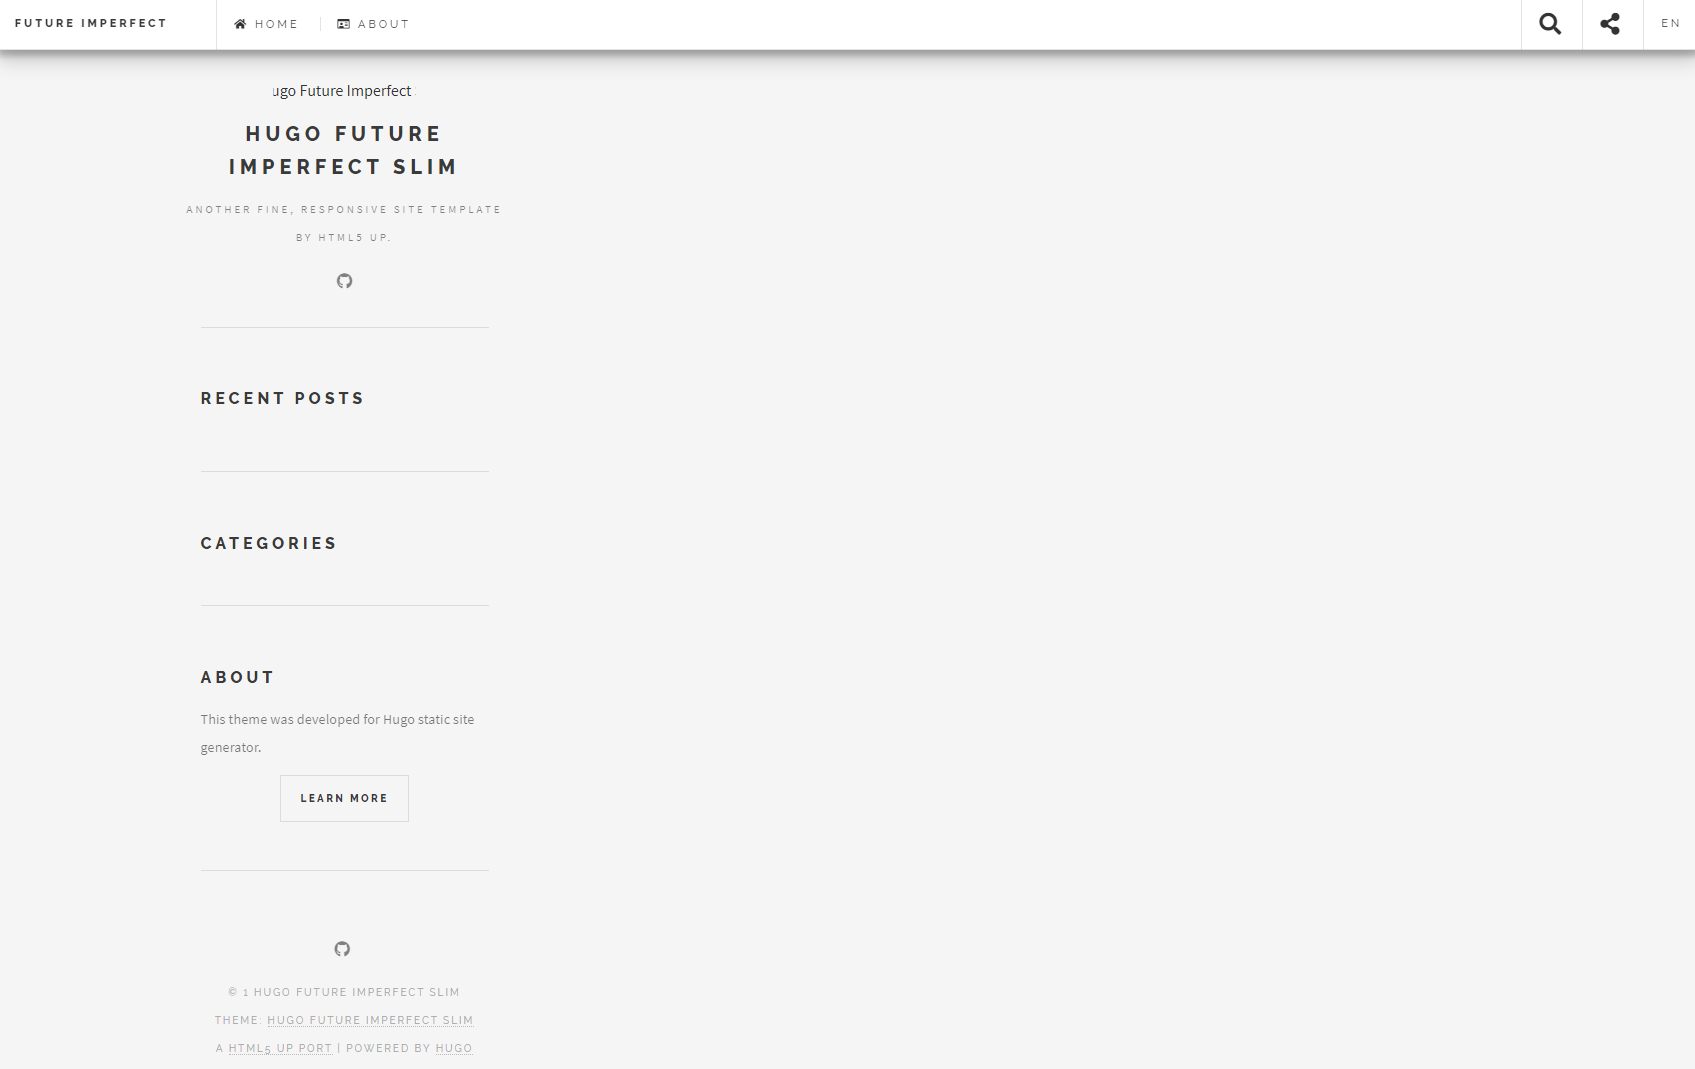
Netlify 설정
이제 Netlify CMS를 사용하기 위해 Netlify에서 로그인 관련 설정을 해 줄 것입니다.
Identity
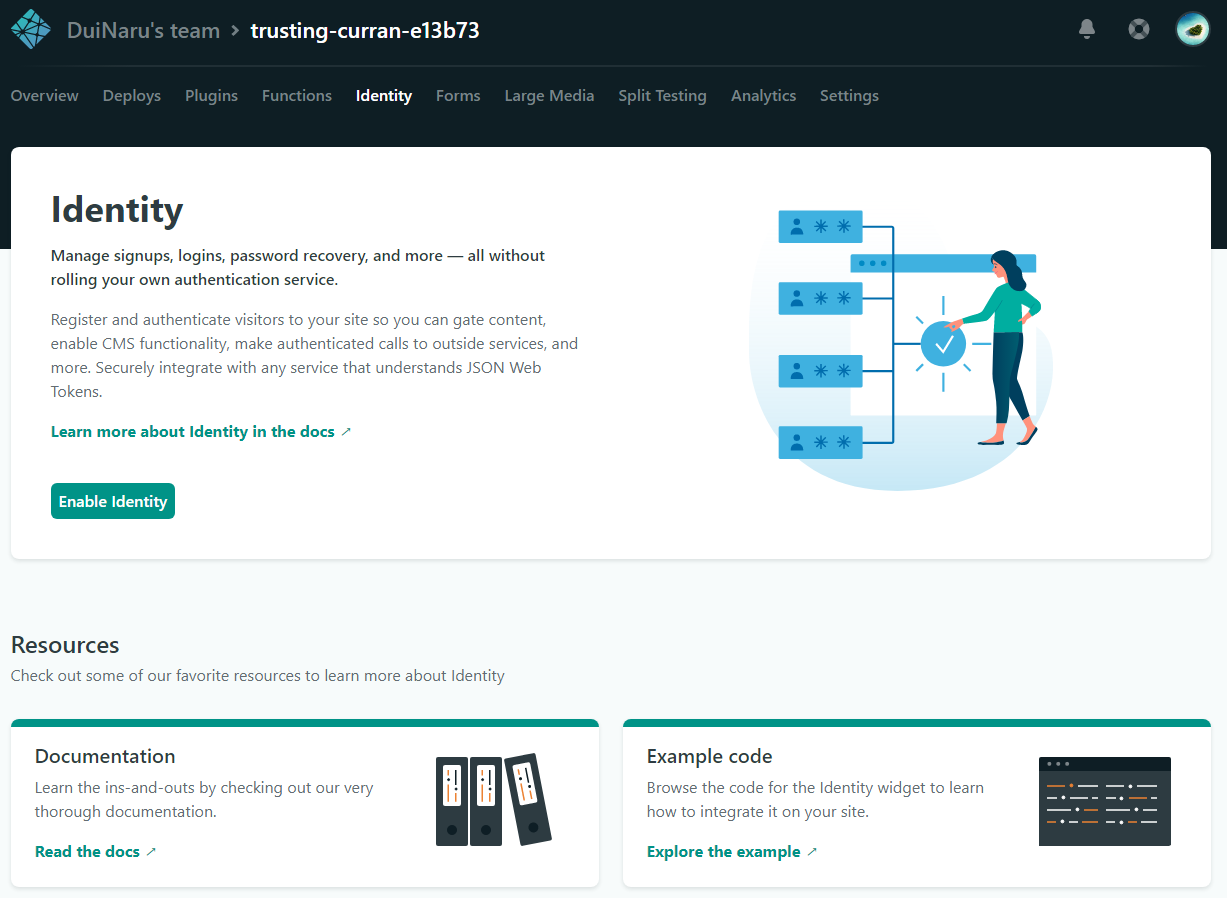
메뉴에서 Identity을 활성해 줍니다. 이 기능을 사용함으로써, 가입 등의 인증 관련 기능을 사용 할 수 있습니다.
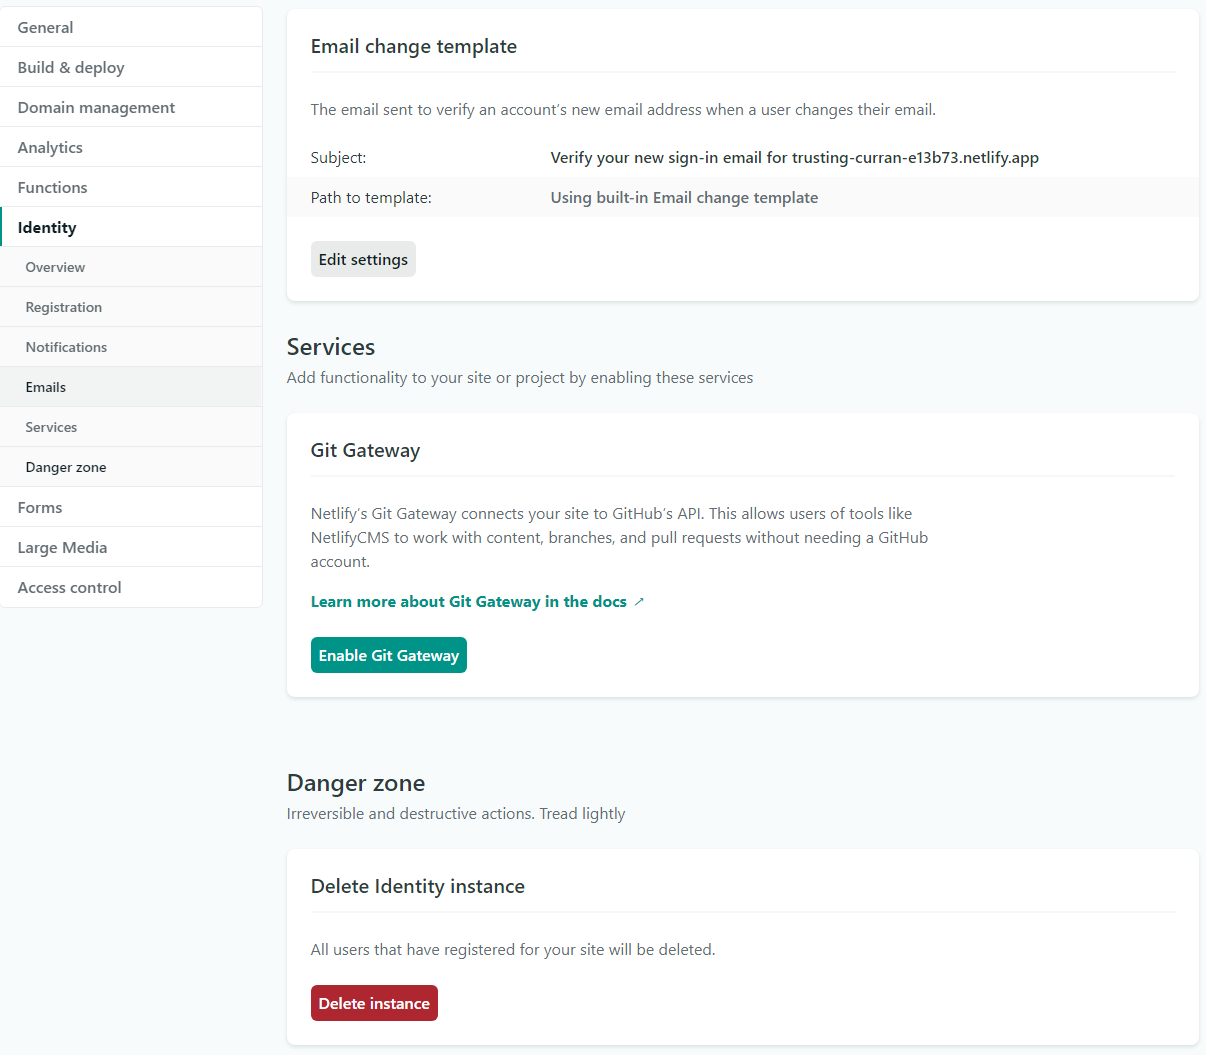
Enable Git Gateway
Netlify CMS 에서 Git 을 처리하기 위해 사용 설정을 해 줍니다. Settings - Identity 메뉴에 Services - Git Gateway 에 있는 Enable Git Gateway 버튼을 클릭합니다.
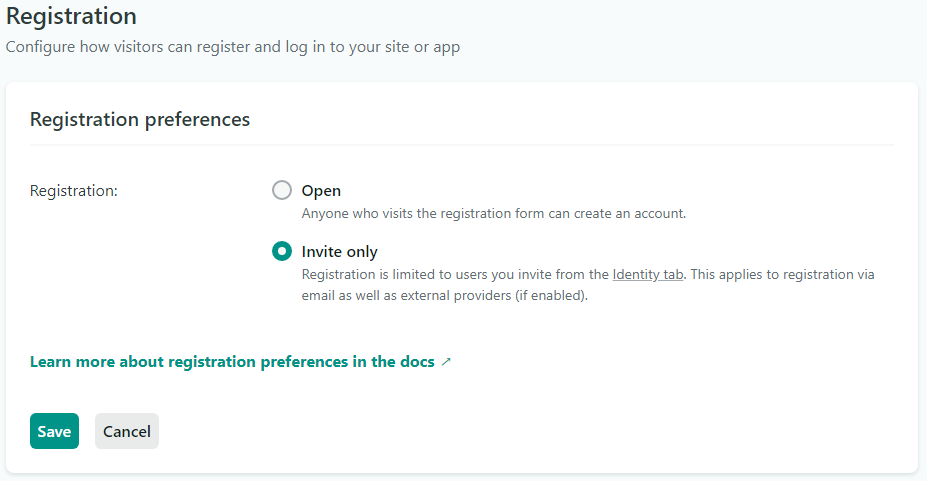
초대 전용으로 설정
Settings - Identity - Registration 에서 Edit 버튼을 눌러서 Invite only로 바꿔줍시다. 이 설정으로 누구나 아이디를 생성할 수 없게 됩니다.
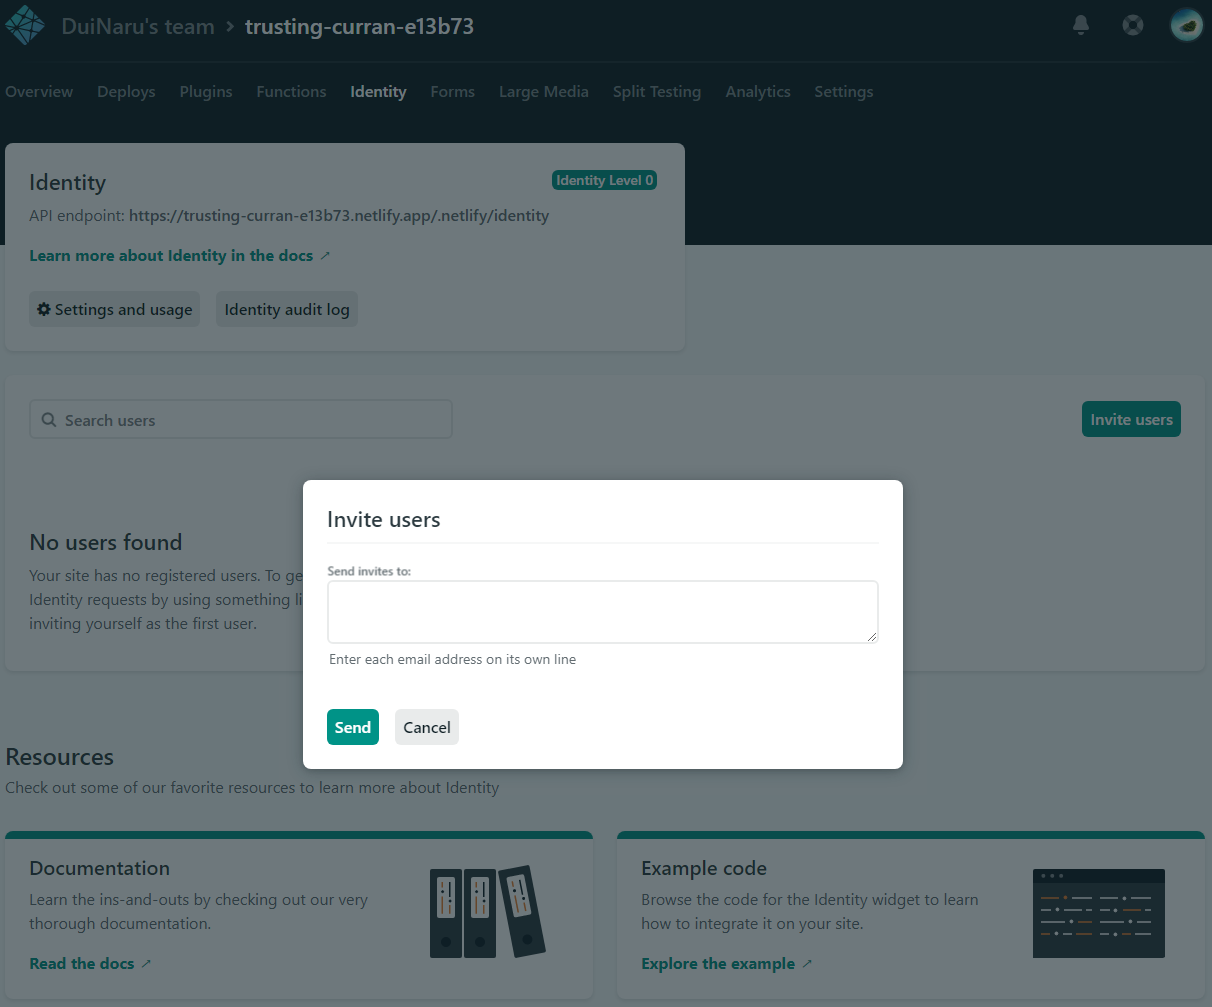
아이디 추가
이제 아이디를 추가해 줄 것입니다.
Invite users를 클릭하여, 이메일을 적어주고 Send를 눌러줍시다.
해당 이메일로 인증메일이 도착해 있을 것입니다. Accept the invite 를 클릭하면 블로그 사이트로 이동됩니다.
URL이 아래와 비슷할텐데, 중간에 admin을 넣어서 CMS 페이지로 바꿔 줍니다.
변경 전
https://trusting-curran-e13b73.netlify.app/#invite_token=-W5a_7Eao-GCIMVEpr97Vw
변경 후
https://trusting-curran-e13b73.netlify.app/admin#invite_token=-W5a_7Eao-GCIMVEpr97Vw
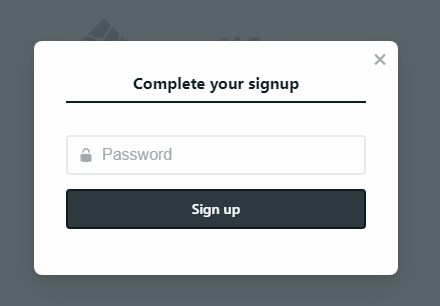
그러면, 비밀번호를 설정하는 화면이 나옵니다.
확인
비밀번호를 설정하고 나면 자동으로 로그인이 되고 아래와 같은 페이지가 나옵니다.
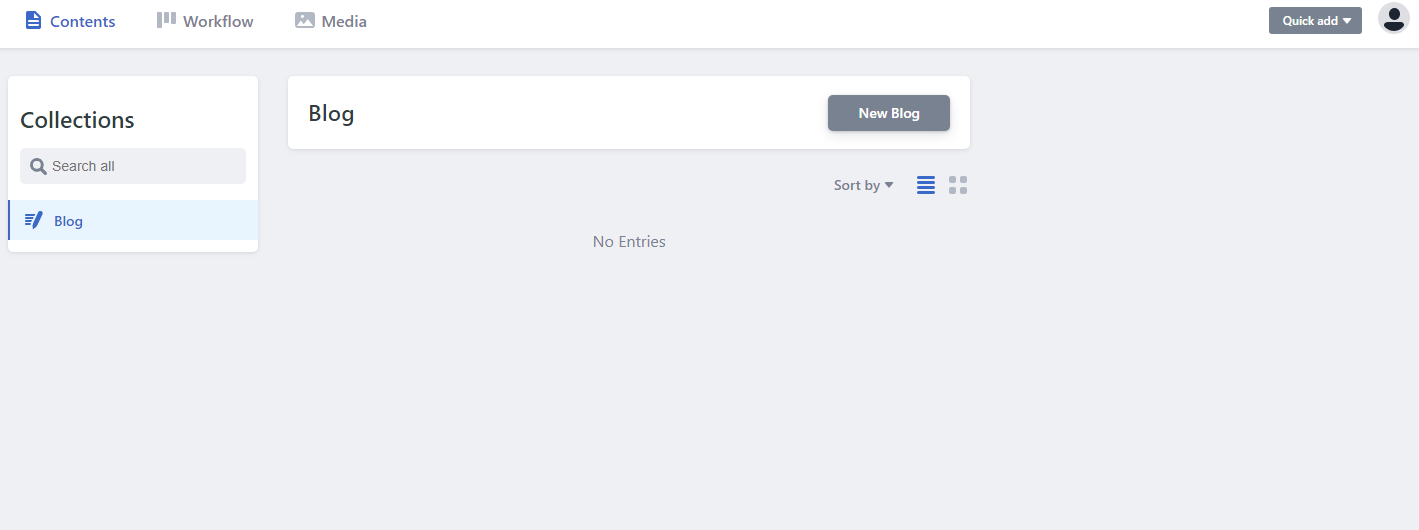
이제 New Blog 를 눌러서 글을 쓰는 등의 Netlify CMS를 사용 할 수 있게 되었습니다.
후기
글을 쓰다보니 꽤 길어졌네요. Netlify CMS를 설정해두면 웹에서 바로 글을 작성할 수 있어서 편합니다.
그러나, 한국어나 일본어 작성이 중간중간 씹히는 현상이 생기는 군요. 영어는 문제 없는 걸로 보아 CMS 스크립트가 영어 위주로 생각해서 만들어 진 모양입니다.
이미지 업로드는 편해서 만족하는데, 글 씹히는 건 천천히 해결해 봐야 겠네요.


