Hugo를 사용하여 블로그를 만들어 보았습니다. Hugo를 설치하고 테마를 적용하는 것만으로도 바로 만들 수 있습니다.
Hugo
설치
우선 Hugo를 설치해 주어야 합니다.
Hugo는 기본 버전과 extended버전이 있습니다. extended버전은 SCSS/SASS를 지원하는 버전으로, SCSS/SASS를 사용하고자 하실 분은 extended버전으로 설치해야 한다고 하네요.
Hugo is now released with two binary version: One with and one without SCSS/SASS support. At the time of writing, this is only available in the binaries on the GitHub release page. Brew, Snap builds etc. will come. But note that you only need the extended version if you want to edit SCSS. For your CI server, or if you don’t use SCSS, you will most likely want the non-extended version.
이번 글에서 사용할 테마가 SCSS를 사용하는 듯 하여, extended버전을 설치하겠습니다.
패키지 매니저 설치
Windows환경에 설치할 생각이라 chocolatey를 이용해서 설치해 주었습니다. 다른 환경에 설치 할 생각이시라면, Install Hugo 을 참고해주세요.
Set-ExecutionPolicy Bypass -Scope Process -Force; [System.Net.ServicePointManager]::SecurityProtocol = [System.Net.ServicePointManager]::SecurityProtocol -bor 3072; iex ((New-Object System.Net.WebClient).DownloadString('https://chocolatey.org/install.ps1'))
관리자 권한으로 Powershell에 해당 명령어를 실행시키면 됩니다. 보안 설정이 있을 수 있으니 Bypass 설정을 한다는 군요.
choco나 choco -?로 설치된 것을 확인하였으면, Hugo를 설치하면 됩니다.
Hugo 설치
Install Hugo - Chocolatey (Windows)
choco install hugo-extended -confirm
hugo version으로 설치된 것을 확인 할 수 있습니다. 0.74.3버전이 설치되었네요.
Hugo Static Site Generator v0.74.3/extended windows/amd64
블로그 생성
블로그를 만들 디렉토리에서 다음 명령어를 실행하면 끝납니다. new-site-name은 원하는 폴더 이름을 넣어주시면 됩니다.
hugo new site new-site-name
지정한 이름의 하위 디렉토리가 생기고, hugo 폴더 구조로 만들어 진것을 확인 할 수 있습니다.
빌드
해당 폴더에서 hugo명령어를 실행시키면 public 폴더가 생기고, 빌드된 파일이 안에 들어있게 됩니다.
hugo

                   | EN
-------------------+-----
  Pages            |  3
  Paginator pages  |  0
  Non-page files   |  0
  Static files     |  0
  Processed images |  0
  Aliases          |  0
  Sitemaps         |  1
  Cleaned          |  0
실행
그리고 hugo serve 로 로컬 환경에서 블로그 사이트에 접속 해 볼수 있습니다.
hugo serve

                   | EN
-------------------+-----
  Pages            |  3
  Paginator pages  |  0
  Non-page files   |  0
  Static files     |  0
  Processed images |  0
  Aliases          |  0
  Sitemaps         |  1
  Cleaned          |  0

Built in 6 ms
Watching for changes in C:\Hugo\Sites\my-blog\{archetypes,content,data,layouts,static}
Watching for config changes in C:\Hugo\Sites\my-blog\config.toml
Environment: "development"
Serving pages from memory
Running in Fast Render Mode. For full rebuilds on change: hugo server --disableFastRender
Web Server is available at http://localhost:1313/ (bind address 127.0.0.1)
Press Ctrl+C to stop
http://localhost:1313/ 로 접속하면 빈 화면이 나오는 것을 확인 할 수 있을 것입니다.
테마 설치
빈 화면에서 만들어 나갈 수도 있지만, 이미 만들어진 여러 테마들이 있습니다.
테마 중에 하나 선택하여 적용 해 보겠습니다.
다운로드
Hugo Future Imperfect Slim라는 테마를 다운로드 하였습니다. 다운로드한 테마는 블로그 사이트 폴더 안의 themes 폴더 안에 넣어주면 됩니다.
cd C:\Hugo\Sites\my-blog\themes
git clone https://github.com/pacollins/hugo-future-imperfect-slim.git
다른 테마라도, themes 폴더 안 에 넣어주면 됩니다.
이제, 테마 설정을 하면 블로그 완성입니다.
설정
테마 설정은 테마별로 각각 다르나, 모든 설정은 블로그 사이트 폴더 안의 config.toml 의 파일에 설정하게 됩니다. 해당 파일은 hugo의 설정 파일로, 블로그 사이트의 타이틀이나 사용할 테마 등을 설정할 수 있습니다.
필자는 Hugo Future Imperfect Slim 를 사용하였기에, 아래와 같이 설정해주었습니다.
Hugo Future Imperfect Slim - config.toml
baseurl                 = ""
DefaultContentLanguage  = "en"
title                   = "Hugo Future Imperfect Slim"
theme                   = "hugo-future-imperfect-slim"
paginate                = 3
disqusShortname         = ""
googleAnalytics         = ""
pluralizeListTitles     = false
disableLanguages        = []

[markup.goldmark.renderer]
  unsafe                = true

[outputs]
  home                  = ["html", "json"]

[params]
  enableCDN             = false
  cssFiles              = ["default"]
  jsFiles               = ["default"]
  highlightjs           = true
  highlightjsTheme      = "default"
  highlightjsLang       = []
  viewMorePostsLink     = "/blog/"
  readingTime           = true
  imageStrech           = ""
  socialShare           = ["twitter", "facebook", "reddit", "linkedin", "pinterest", "email"]

[params.meta]
	description         = "A theme by HTML5 UP, ported by Julio Pescador. Slimmed and enhanced by Patrick Collins. Multilingual by StatnMap. Powered by Hugo."
	author              = "HTML5UP and Hugo"
	favicon             = false
	svg                 = true
	faviconVersion      = "1"
	msColor             = "#ffffff"
	iOSColor            = "#ffffff"

[params.header]
	navbarTitle         = "Future Imperfect"
	dynamicTitles       = true
	searchMenu          = true
	shareMenu           = true
	languageMenu        = true

[params.intro]
	header                = "Hugo Future Imperfect Slim"
	paragraph             = "Another fine, responsive site template by <a href='http://html5up.net'>HTML5 UP</a>."
	rssIntro              = true
	socialIntro           = true
	hideWhenSingleColumn  = false
	alwaysOnHomepage      = false

	[params.intro.pic]
		src                 = "/img/main/logo.jpg"
		shape               = "circle"
		width               = ""
		alt                 = "Hugo Future Imperfect Slim"

[params.sidebar]
  about               = "This theme was developed for Hugo static site generator."
  postAmount          = 5
  categories          = true
  categoriesByCount   = true

[params.footer]
  rssFooter           = true
  socialFooter        = true

[params.staticman]
  enabled             = false
  api                 = ""  # No Trailing Slash
  gitProvider         = "github"
  username            = ""
  repo                = ""
  branch              = ""

  [params.staticman.recaptcha]
    siteKey           = ""
    encryptedKey      = ""

[menu]

	[[menu.main]]
		name              = "Home"
		identifier        = "home"
		url               = "/"
		pre               = "<i class='fa fa-home'></i>"
		weight            = 1

	[[menu.main]]
		name              = "About"
		identifier        = "about"
		url               = "/about/"
		pre               = "<i class='far fa-id-card'></i>"
		weight            = 2

[Languages]

	[Languages.en]
		LanguageCode        = "en"
		LanguageName        = "English"
		weight              = 1

	[Languages.fr]
		LanguageCode        = "fr"
		LanguageName        = "Français"
		title               = "Hugo Future Imperfect Slim en français"
		description         = "Un thème par HTML5 UP, porté par Julio Pescador. Simplifié et amélioré par Patrick Collins. Multilingue par StatnMap. Propulsé par Hugo."
		weight              = 2

		[[Languages.fr.menu.main]]
		name              = "Accueil"
		identifier        = "home"
		url               = "/"
		pre               = "<i class='fas fa-home'></i>"
		weight            = 1

[social]
	# Coding Communities
	github                = "pacollins/hugo-future-imperfect-slim"
	gitlab                = ""
	stackoverflow         = "" # User Number
	bitbucket             = ""
확인
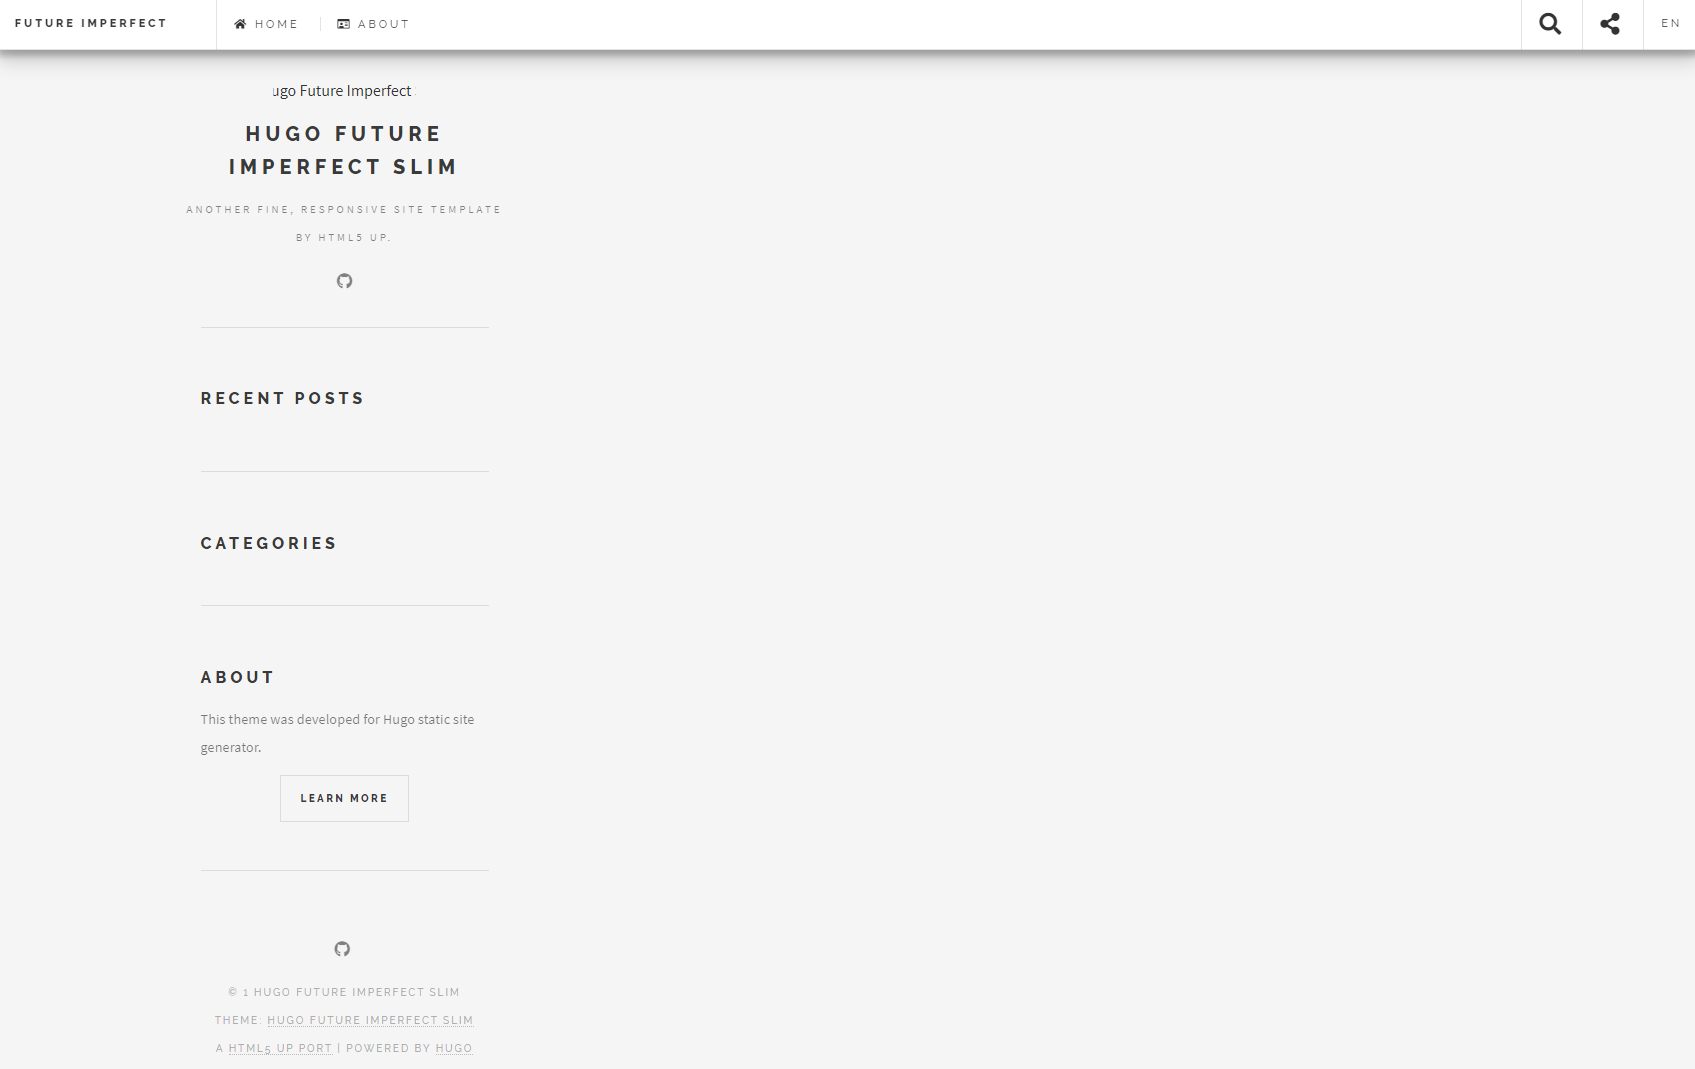
필요한 설정을 해주고, 다시 hugo serve를 실행 시켜서 http://localhost:1313/ 에 접속해 봅시다.

테마가 적용된 것을 확인 할 수 있습니다. 다만, 아무 글도 없으니 허전하네요. 글 하나 작성해봅시다.
글 작성
아래 처럼 만들면 됩니다. 해당 파일은 markdown형식의 파일이며, 글 하나에 해당합니다.
hugo new posts/new-post.md
content/posts의 폴더 안에 new-post.md파일이 만들어 진 것을 확인 할 수 있습니다. 파일은 hugo new 명령어도 만들어도 되고, 직접 만들어도 됩니다. 명령어로 만들 경우, draft 설정으로 만들어 지므로 확인하기 위해서는 다음 명령어로 실행합니다.
hugo serve -D
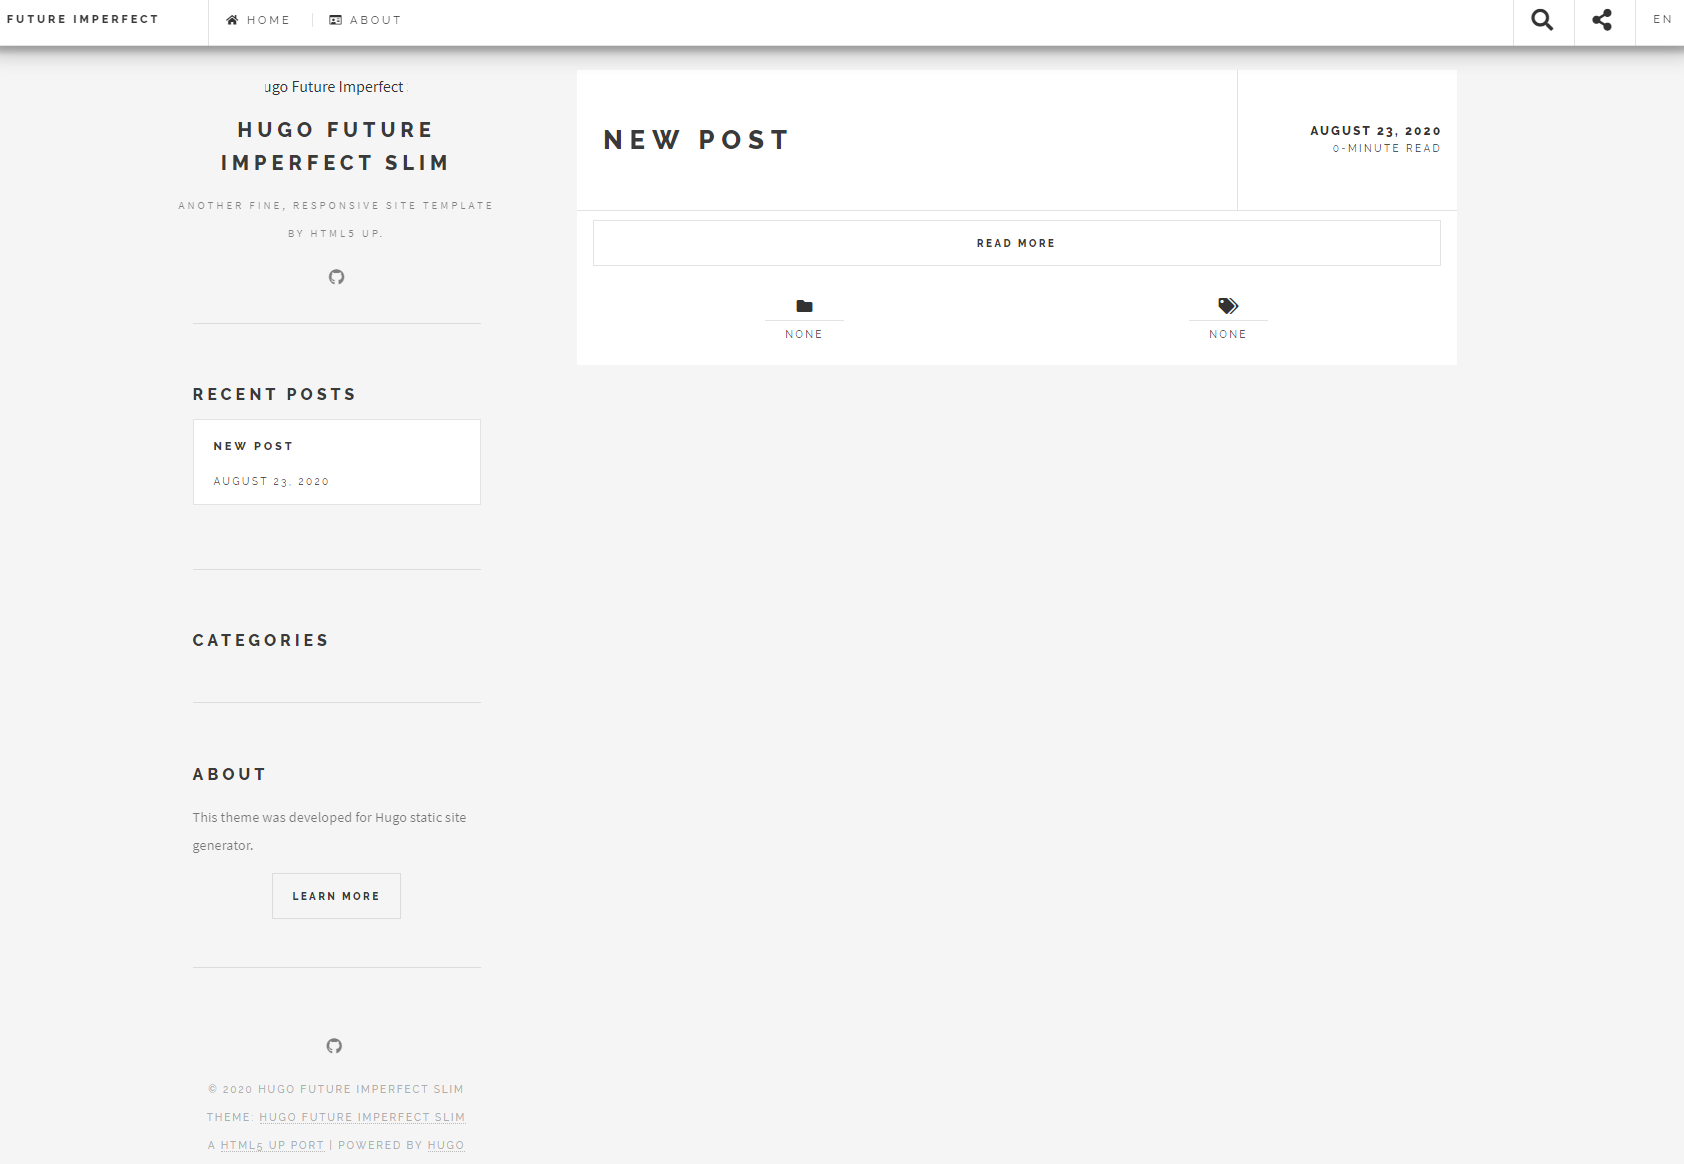
http://localhost:1313/ 에 접속하면 글이 하나 생긴 것을 확인 할 수 있습니다.

새로 생긴 파일에 내용을 적음으로써 블로그 글을 작성할 수 있게 됩니다.
그러나, 파일 하나하나를 직접 수정하고 관리하는 것은 불편함이 따르기 마련입니다. 그래서 다음에는 글을 작성하거나 관리하는 것을 보다 편하게 하기 위해 CMS을 설정하는 글을 적어보려 합니다.


