Hugoでブログサイトを構築してみました。Hugoをインストールし、テーマを入れることですぐに創れます。
Hugo
インストール
まずは、Hugoをインストールします。
Hugoは基本バージョンとextendedバージョンの二つがあります。extendedバージョンはSCSS/SASSをサポートし、SCSS/SASSを使おうとしたらextendedバージョンのインストールが必要のようです。
Hugo is now released with two binary version: One with and one without SCSS/SASS support. At the time of writing, this is only available in the binaries on the GitHub release page. Brew, Snap builds etc. will come. But note that you only need the extended version if you want to edit SCSS. For your CI server, or if you don’t use SCSS, you will most likely want the non-extended version.
今回に入れるテーマがSCSSを使っているようで、extendedバージョンをインストールします。
パッケージマネージャーインストール
Windows環境にインストールしまして、chocolateyを利用し、インストールしました。別の環境でのインストールはInstall Hugoを参考してください。
Set-ExecutionPolicy Bypass -Scope Process -Force; [System.Net.ServicePointManager]::SecurityProtocol = [System.Net.ServicePointManager]::SecurityProtocol -bor 3072; iex ((New-Object System.Net.WebClient).DownloadString('https://chocolatey.org/install.ps1'))
管理者権限でPowershellに上記のコマンドーを実行します。セキュリティー設定があるかということでBypassを設定してインストールするらしいです。
chocoやchoco -?でインストールされたことを確認したら、Hugoをインストールします。
Hugoのインストール
Install Hugo - Chocolatey (Windows)
choco install hugo-extended -confirm
hugo versionでインストールされたことが確認できます。0.74.3バージョンがインストールされましたね。
Hugo Static Site Generator v0.74.3/extended windows/amd64
ブログサイト作成
次のコマンドーを実行すればブログサイトが作成できます。new-site-nameはブログサイトが格納されるフォルダー名で、変更できます。
hugo new site new-site-name
指定したフォルダーが作成され、hugoのディレクトリ構造になっていることが確認できます。
ビルド
ブログサイトのフォルダーでhugoコマンドを実行するとpublicというフォルダーにビルドされたファイルが格納されます。このフォルダーが実際のブログサイトになります。
hugo

                   | EN
-------------------+-----
  Pages            |  3
  Paginator pages  |  0
  Non-page files   |  0
  Static files     |  0
  Processed images |  0
  Aliases          |  0
  Sitemaps         |  1
  Cleaned          |  0
確認
そして、hugo serve でローカル環境からブログサイトを確認することもできます。
hugo serve

                   | EN
-------------------+-----
  Pages            |  3
  Paginator pages  |  0
  Non-page files   |  0
  Static files     |  0
  Processed images |  0
  Aliases          |  0
  Sitemaps         |  1
  Cleaned          |  0

Built in 6 ms
Watching for changes in C:\Hugo\Sites\my-blog\{archetypes,content,data,layouts,static}
Watching for config changes in C:\Hugo\Sites\my-blog\config.toml
Environment: "development"
Serving pages from memory
Running in Fast Render Mode. For full rebuilds on change: hugo server --disableFastRender
Web Server is available at http://localhost:1313/ (bind address 127.0.0.1)
Press Ctrl+C to stop
上記のコマンドーを実行し、http://localhost:1313/ にアクセスすれば、白い画面が表示されることが確認できます。
テーマのインストール
何もない画面から創り上げてもいいですが、公開されている様々なテーマがありますので、使いましょう。
一つ選んでインストールしてみます。
ダウンロード
Hugo Future Imperfect Slimというテーマをダウンロードしました。テーマはブログサイトディレクトリのthemesフォルダーに入れます。
cd C:\Hugo\Sites\my-blog\themes
git clone https://github.com/pacollins/hugo-future-imperfect-slim.git
他のテーマであっても、themesのフォルダーに入れればいいです。
あとは、テーマの設定をすれば完成です。
設定
テーマの設定はテーマごとに異なりますが、全ての設定はブログサイトディレクトリの下、config.tomlのファイルに設定します。該当ファイルはhugoの設定ファイルで、ブログサイトのタイトルや使用するテーマの設定などが指定できます。
筆者の場合はHugo Future Imperfect Slim を入れましたので、下記のように設定しました。
Hugo Future Imperfect Slim - config.toml
baseurl                 = ""
DefaultContentLanguage  = "en"
title                   = "Hugo Future Imperfect Slim"
theme                   = "hugo-future-imperfect-slim"
paginate                = 3
disqusShortname         = ""
googleAnalytics         = ""
pluralizeListTitles     = false
disableLanguages        = []

[markup.goldmark.renderer]
  unsafe                = true

[outputs]
  home                  = ["html", "json"]

[params]
  enableCDN             = false
  cssFiles              = ["default"]
  jsFiles               = ["default"]
  highlightjs           = true
  highlightjsTheme      = "default"
  highlightjsLang       = []
  viewMorePostsLink     = "/blog/"
  readingTime           = true
  imageStrech           = ""
  socialShare           = ["twitter", "facebook", "reddit", "linkedin", "pinterest", "email"]

[params.meta]
	description         = "A theme by HTML5 UP, ported by Julio Pescador. Slimmed and enhanced by Patrick Collins. Multilingual by StatnMap. Powered by Hugo."
	author              = "HTML5UP and Hugo"
	favicon             = false
	svg                 = true
	faviconVersion      = "1"
	msColor             = "#ffffff"
	iOSColor            = "#ffffff"

[params.header]
	navbarTitle         = "Future Imperfect"
	dynamicTitles       = true
	searchMenu          = true
	shareMenu           = true
	languageMenu        = true

[params.intro]
	header                = "Hugo Future Imperfect Slim"
	paragraph             = "Another fine, responsive site template by <a href='http://html5up.net'>HTML5 UP</a>."
	rssIntro              = true
	socialIntro           = true
	hideWhenSingleColumn  = false
	alwaysOnHomepage      = false

	[params.intro.pic]
		src                 = "/img/main/logo.jpg"
		shape               = "circle"
		width               = ""
		alt                 = "Hugo Future Imperfect Slim"

[params.sidebar]
  about               = "This theme was developed for Hugo static site generator."
  postAmount          = 5
  categories          = true
  categoriesByCount   = true

[params.footer]
  rssFooter           = true
  socialFooter        = true

[params.staticman]
  enabled             = false
  api                 = ""  # No Trailing Slash
  gitProvider         = "github"
  username            = ""
  repo                = ""
  branch              = ""

  [params.staticman.recaptcha]
    siteKey           = ""
    encryptedKey      = ""

[menu]

	[[menu.main]]
		name              = "Home"
		identifier        = "home"
		url               = "/"
		pre               = "<i class='fa fa-home'></i>"
		weight            = 1

	[[menu.main]]
		name              = "About"
		identifier        = "about"
		url               = "/about/"
		pre               = "<i class='far fa-id-card'></i>"
		weight            = 2

[Languages]

	[Languages.en]
		LanguageCode        = "en"
		LanguageName        = "English"
		weight              = 1

	[Languages.fr]
		LanguageCode        = "fr"
		LanguageName        = "Français"
		title               = "Hugo Future Imperfect Slim en français"
		description         = "Un thème par HTML5 UP, porté par Julio Pescador. Simplifié et amélioré par Patrick Collins. Multilingue par StatnMap. Propulsé par Hugo."
		weight              = 2

		[[Languages.fr.menu.main]]
		name              = "Accueil"
		identifier        = "home"
		url               = "/"
		pre               = "<i class='fas fa-home'></i>"
		weight            = 1

[social]
	# Coding Communities
	github                = "pacollins/hugo-future-imperfect-slim"
	gitlab                = ""
	stackoverflow         = "" # User Number
	bitbucket             = ""
確認
必要な設定をした後、hugo serveを実行してhttp://localhost:1313/にアクセスしてみましょう。

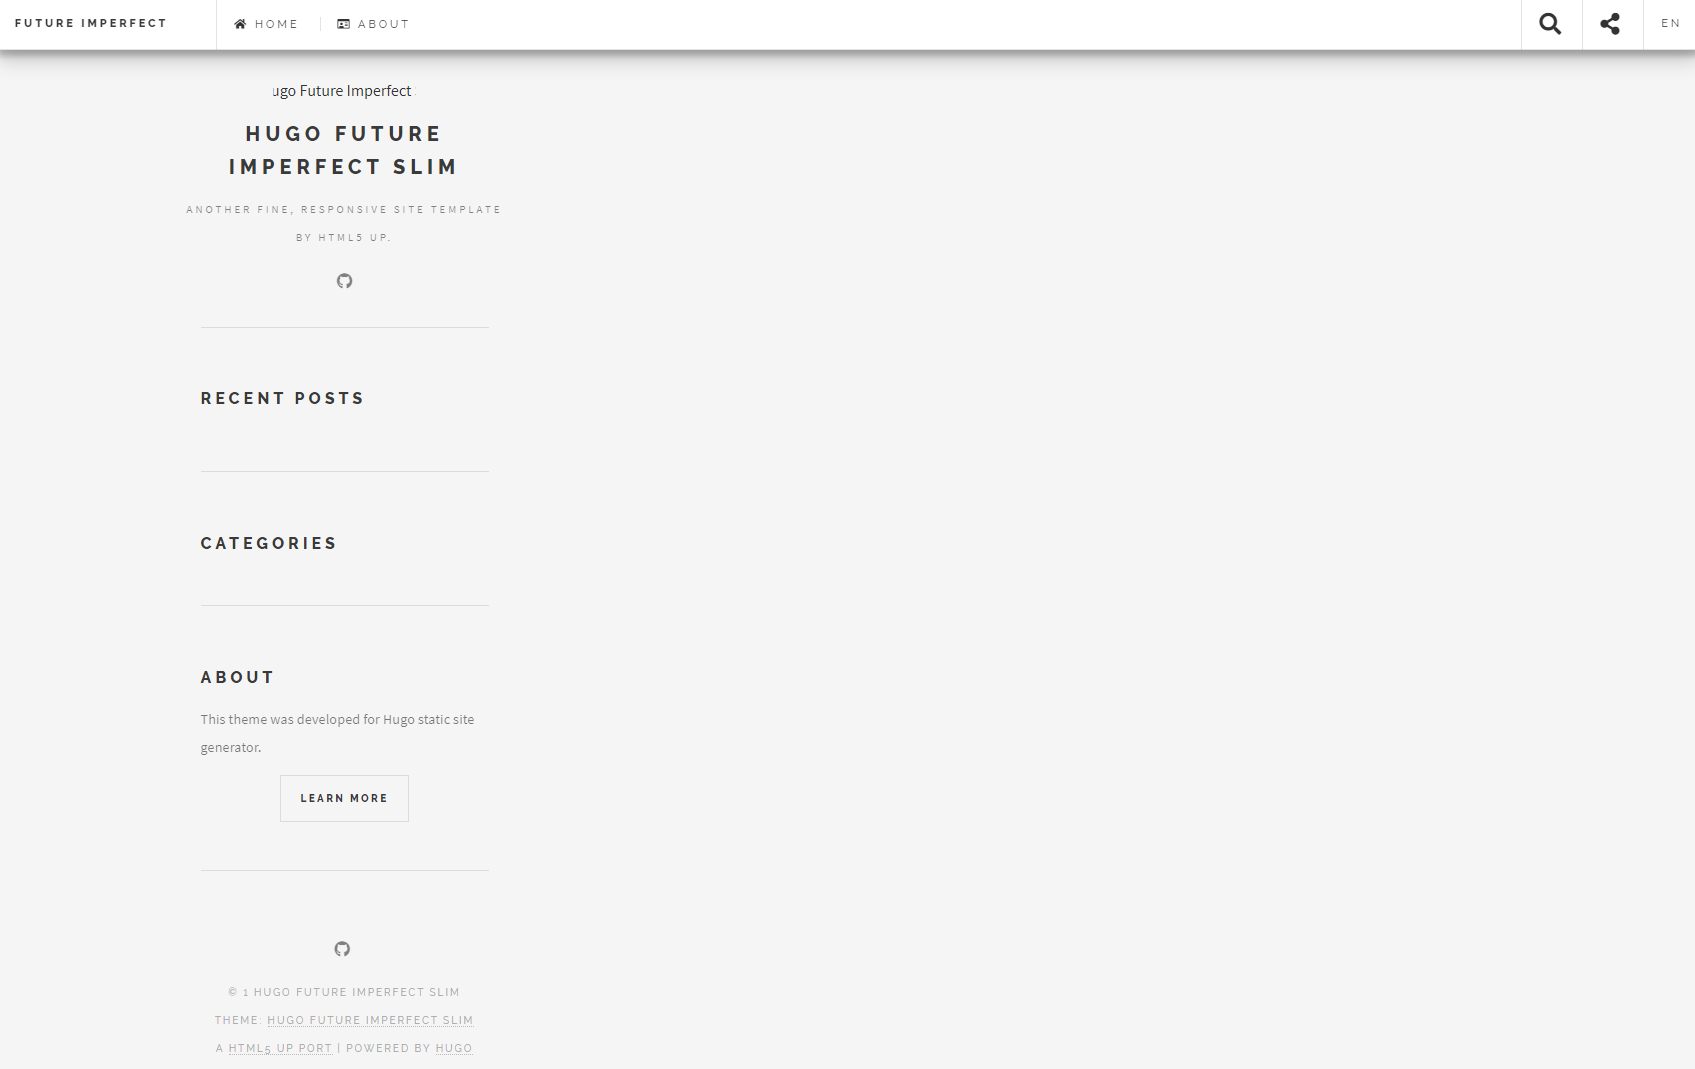
テーマが適用されていることが確認できます。しかし、何もないので一つ投稿してみましょう。
投稿
下記のようにコマンドを実行します。投稿で作るファイルはmarkdown形式で、ファイル1個がポスト1個になります。
hugo new posts/new-post.md
content/postsの下にnew-post.mdというファイルが作成されていることが確認できます。投稿はhugo new のコマンドを実行してもいいですし、.mdファイルを直接作成してもいいです。コマンドで作成する場合はdraftをtrueに設定して作られますので、-Dのオプションを付け、ブログサイトを起動しましょう。
hugo serve -D
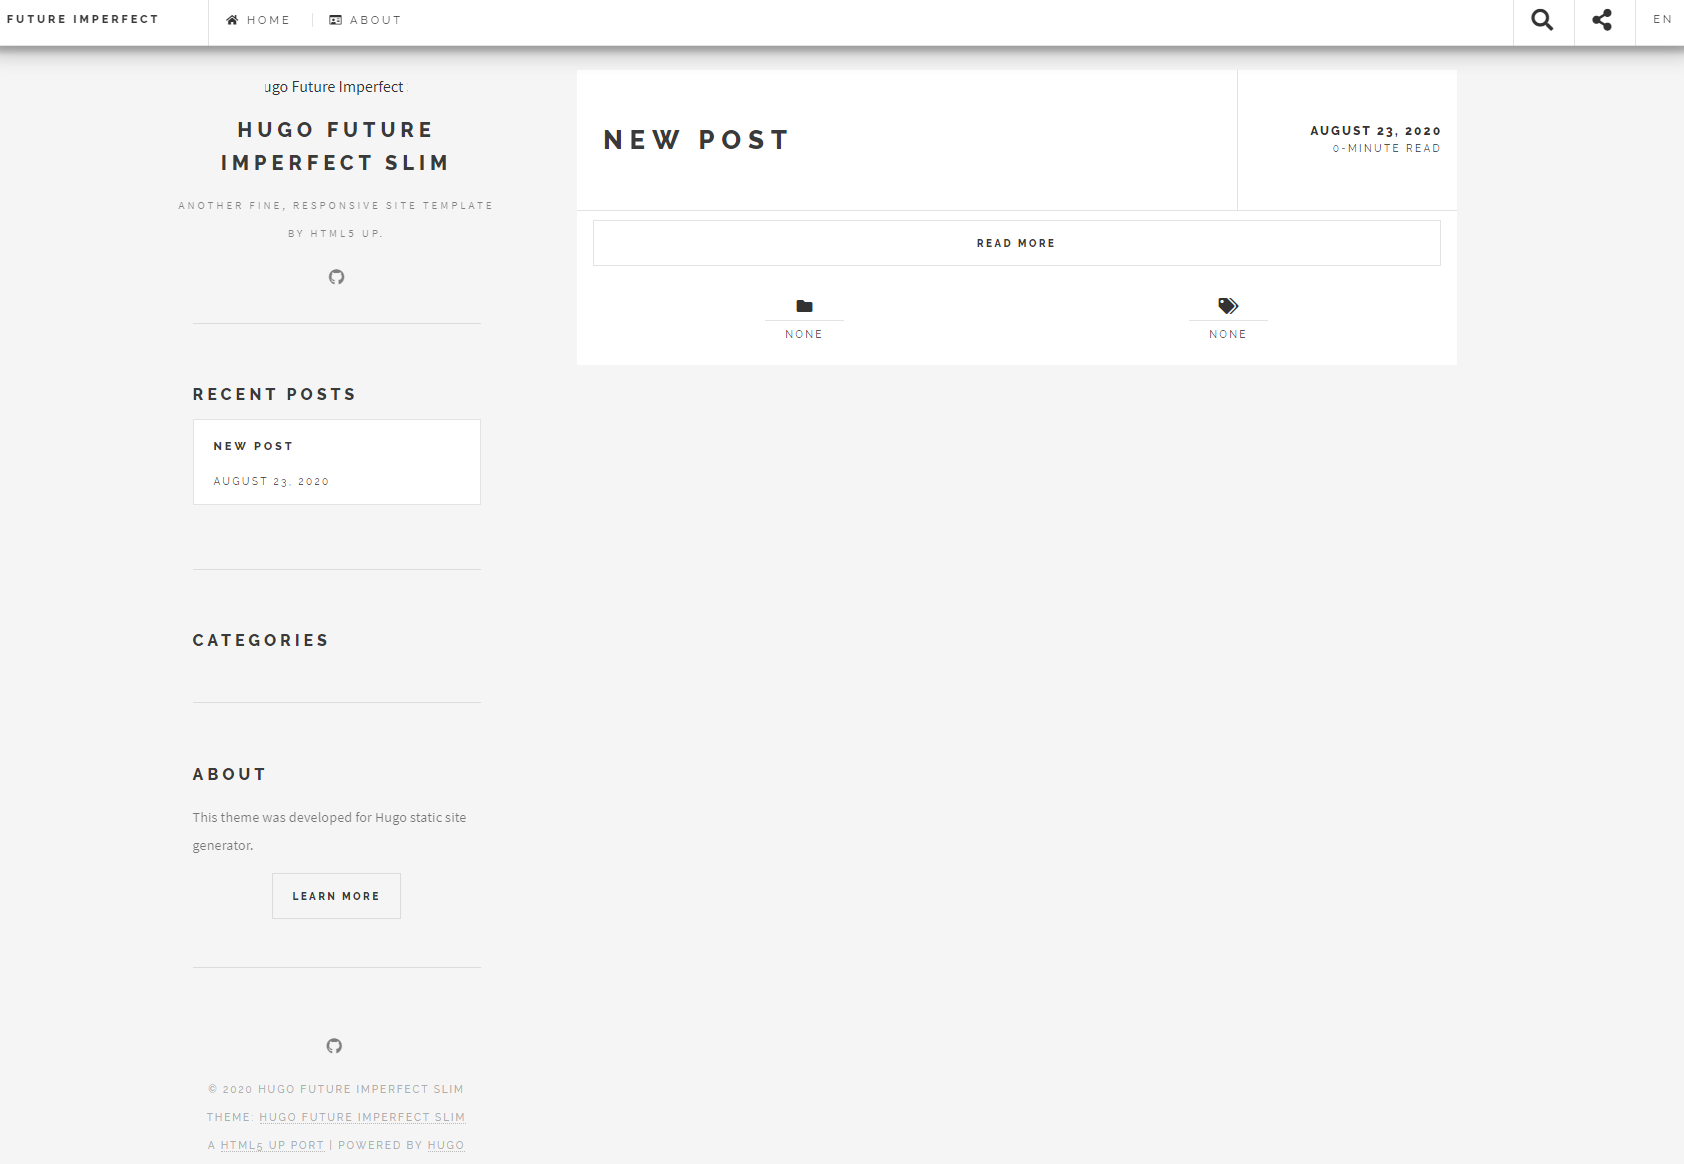
http://localhost:1313/ にアクセスすれば投稿されていることが確認できます。

投稿や修正などはそのファイルを変更することでできます。
しかし、ファイルを一個づつの修正などの管理は不便さがつきものです。そこで、CMSを入れれば、投稿や管理がしやすくなりますので、次はCMSについて投稿しようと思います。


